


This year, our thankful tree sits on the bar cart in the dining room. I thought it would be fun to have some sort of interesting art to hang nearby and decided to try a technique I’ve seen and loved all over the web. Here are a few of my favorite string art examples (1 / 2 / 3). My version is subtle and the white string and linen backing look pretty next to the vintage gold frame.

Want to see how I made it?!
// SUPPLIES //

template (printed on tracing paper, preferably) / frame and backing / straight pins / thread or embroidery floss / scissors
Let’s talk about my frame and backing for a second. Originally, I had a group of these frames in Audrey’s nursery with old baby shoes, bonnets, christening gowns pinned to them (seen here). The frames are vintage from my grandmother and I just love their patina. I cut a piece of foam-core to fit, then wrapped in linen (an IKEA curtain cut up) and hot glued in place. You could use cork, or a piece of wood (but use nails instead of straight pins for the project).
STEP ONE // cut template and tape to backing to hold

STEP TWO // pin on dotted lines

Feel free to use the templates as a guide – the dots are not perfectly placed, so you can move pins where it makes sense.
Once you place all of the pins, you’ll have this:

STEP THREE // tear away template (carefully!)

This is where the tracing paper comes in handy. I tried a first version using regular printer paper and it was not easy to remove the paper. The thinner you have, the better.
STEP FOUR // tie string to pin and start wrapping

I used embroidery floss, but I’ve also seen this done with thread and it looks great too. You can either outline your letters as shown, or fill them in with a zig zag approach (see examples in the links above)

I wrapped each letter two times around to make them stand out a little more.

And it’s done! This was a great mind-less project that took just a bit of concentration when wrapping the string. You could enlarge the template or use nails instead of pins to make them a bit sturdier.

The dimension it offers is pretty and unexpected and just right for this time of year!
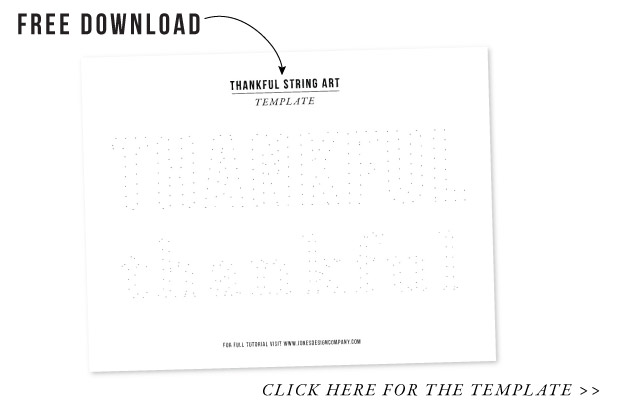
If you’d like to make your own thankful string art, you are welcome to use my template. There is an all-caps version and lowercase.
Click the image above for the free template, or you can log in to the archive and find it in the template section.
Love the 3d effect! Quick question: I have the same bar cart- where is the striped basket on the bottom shelf from? Nod?? Such a fun graphic look!
The stripe bin is from the container store.
Isn’t string art the greatest?! It was one of my favorite projects in grade school and a couple of years ago I decided to start playing around with it so I made a HUGE “Joy” for Christmas. The rest
of the year it serves as a reminder on the shelf in my closet to chose Joy each day.
Now I’m off to make a sweet little Thankful sign! Thank you!!
What a sweet project!
The framed embroidery is the perfect accent to the thankful tree.